Viewing & using datasets in your network model

Written by Cody Yakimoff
Updated at January 10th, 2023
Table of Contents
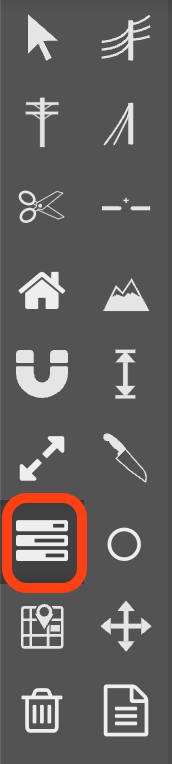
The Datasets tool on the toolbar is used to manage the datasets that are currently used in your model, and view available datasets:
Viewing & using available datasets from your own organization
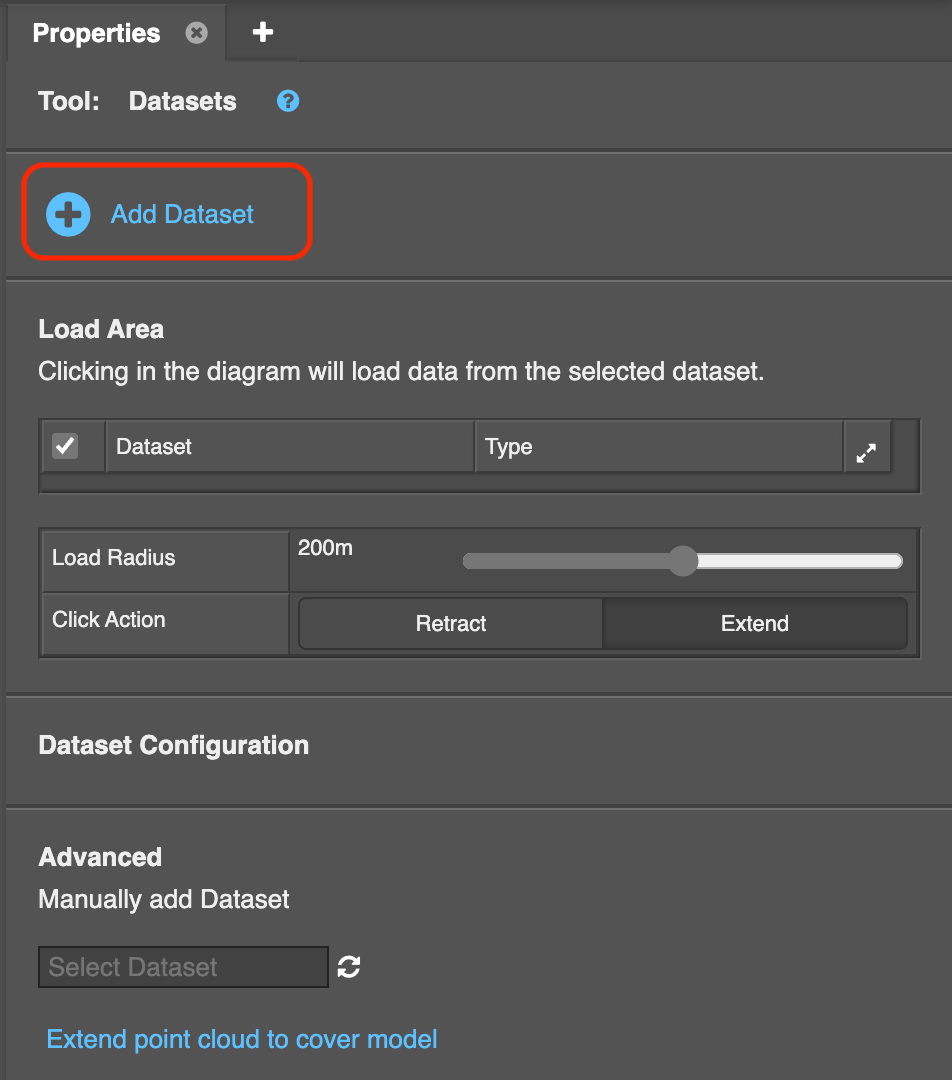
Click the Datasets tool on the toolbar, and then click the Add Dataset option in the properties panel in the sidebar:
The pop shows a list of datasets available to you by organization. Click the Show link on a dataset to view on a map:
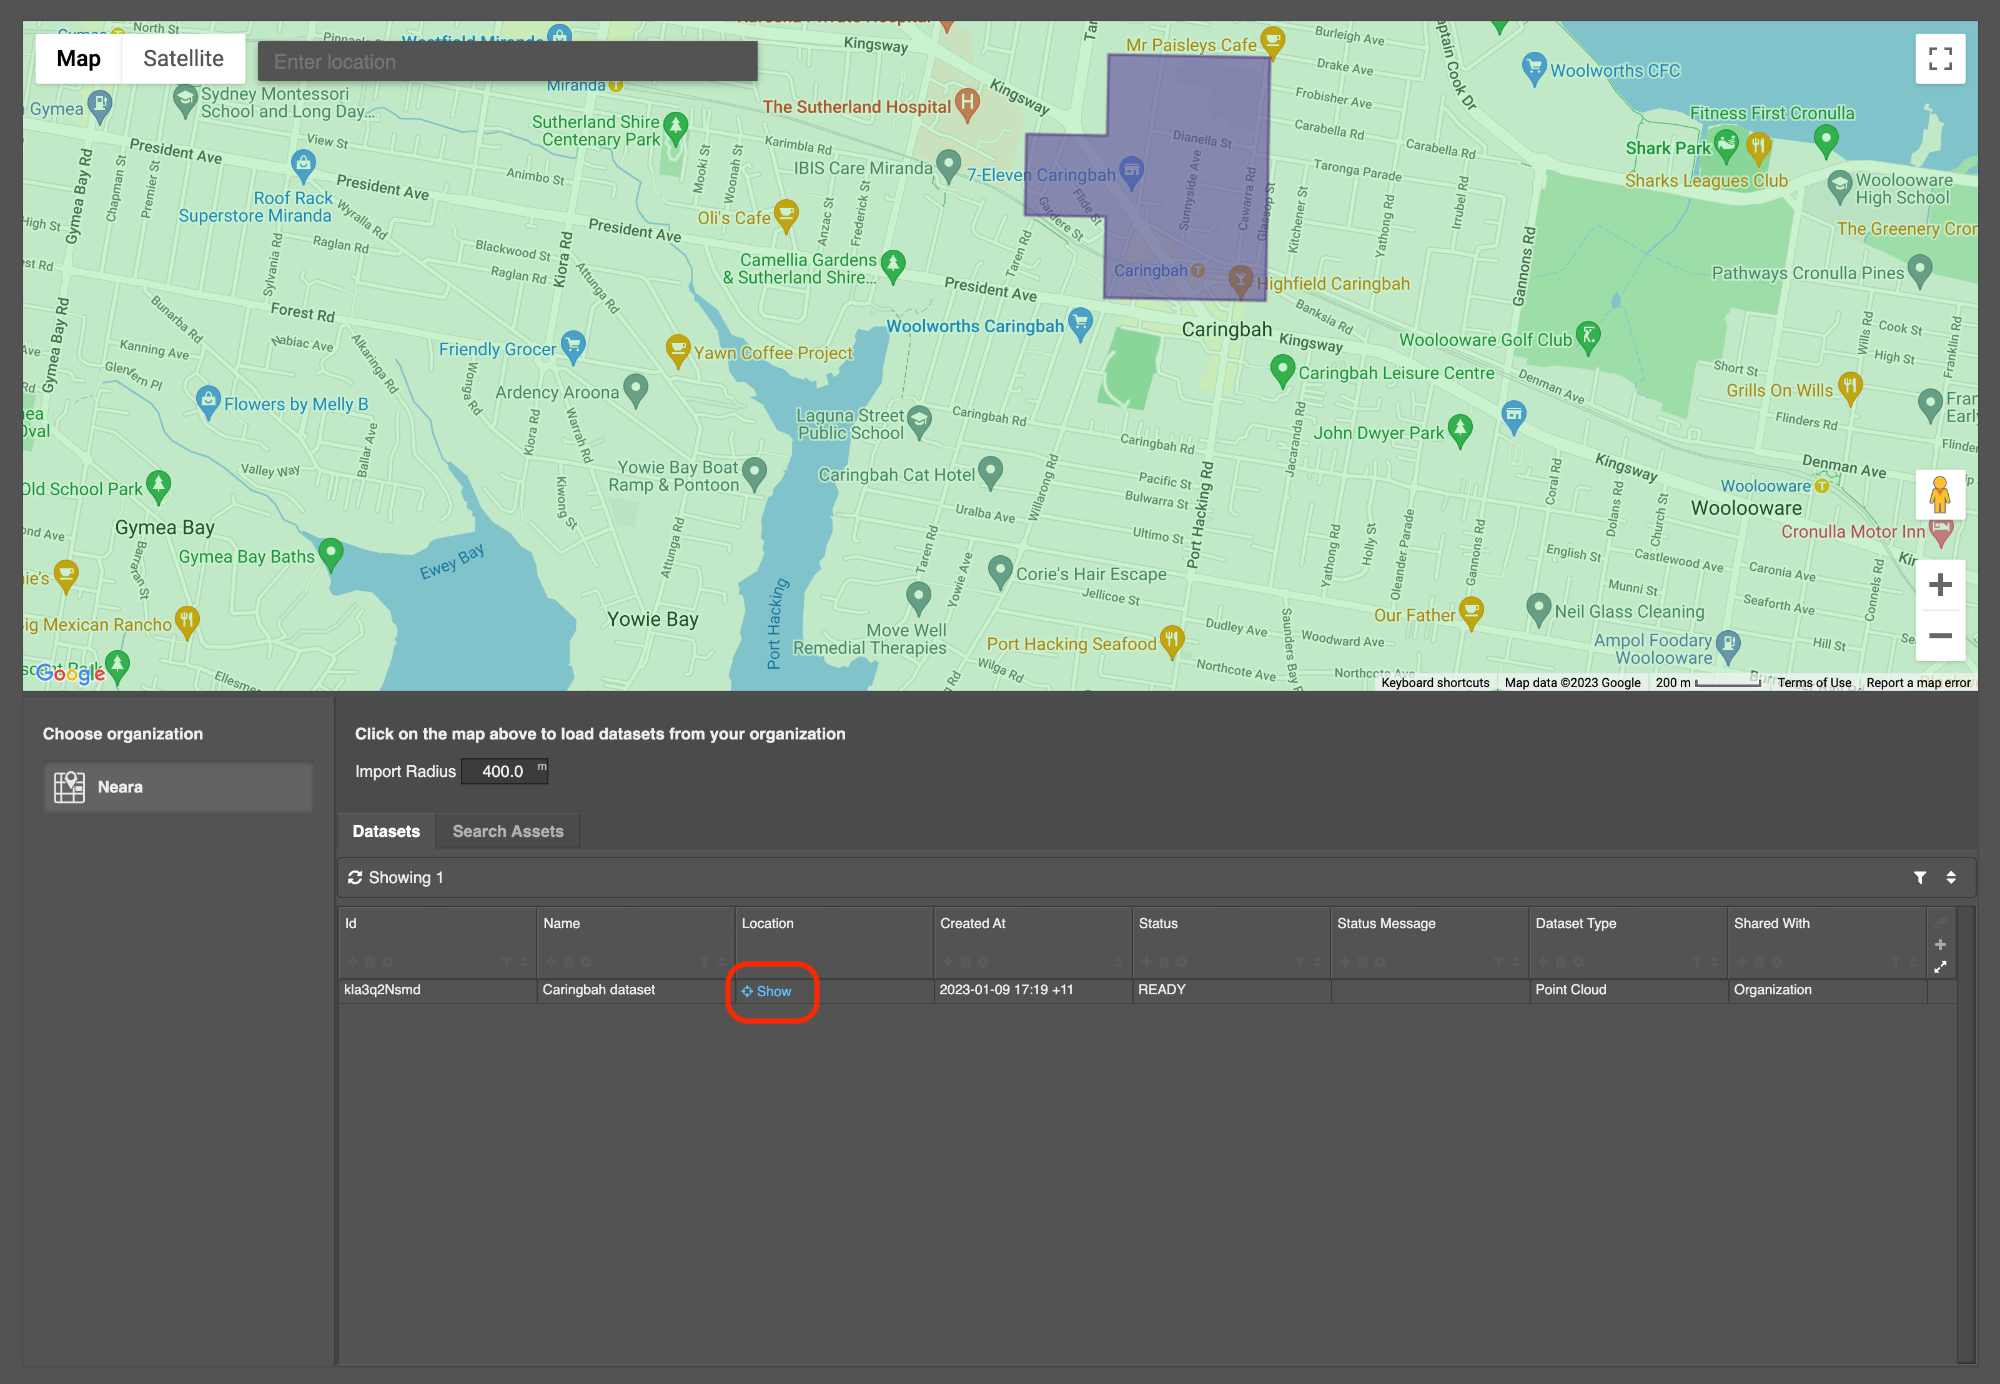
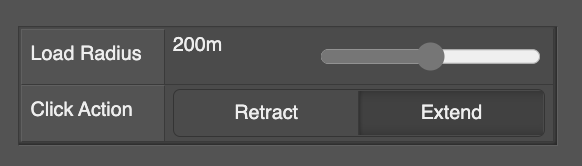
You can increase or decrease the size of that area with the Import Radius option:

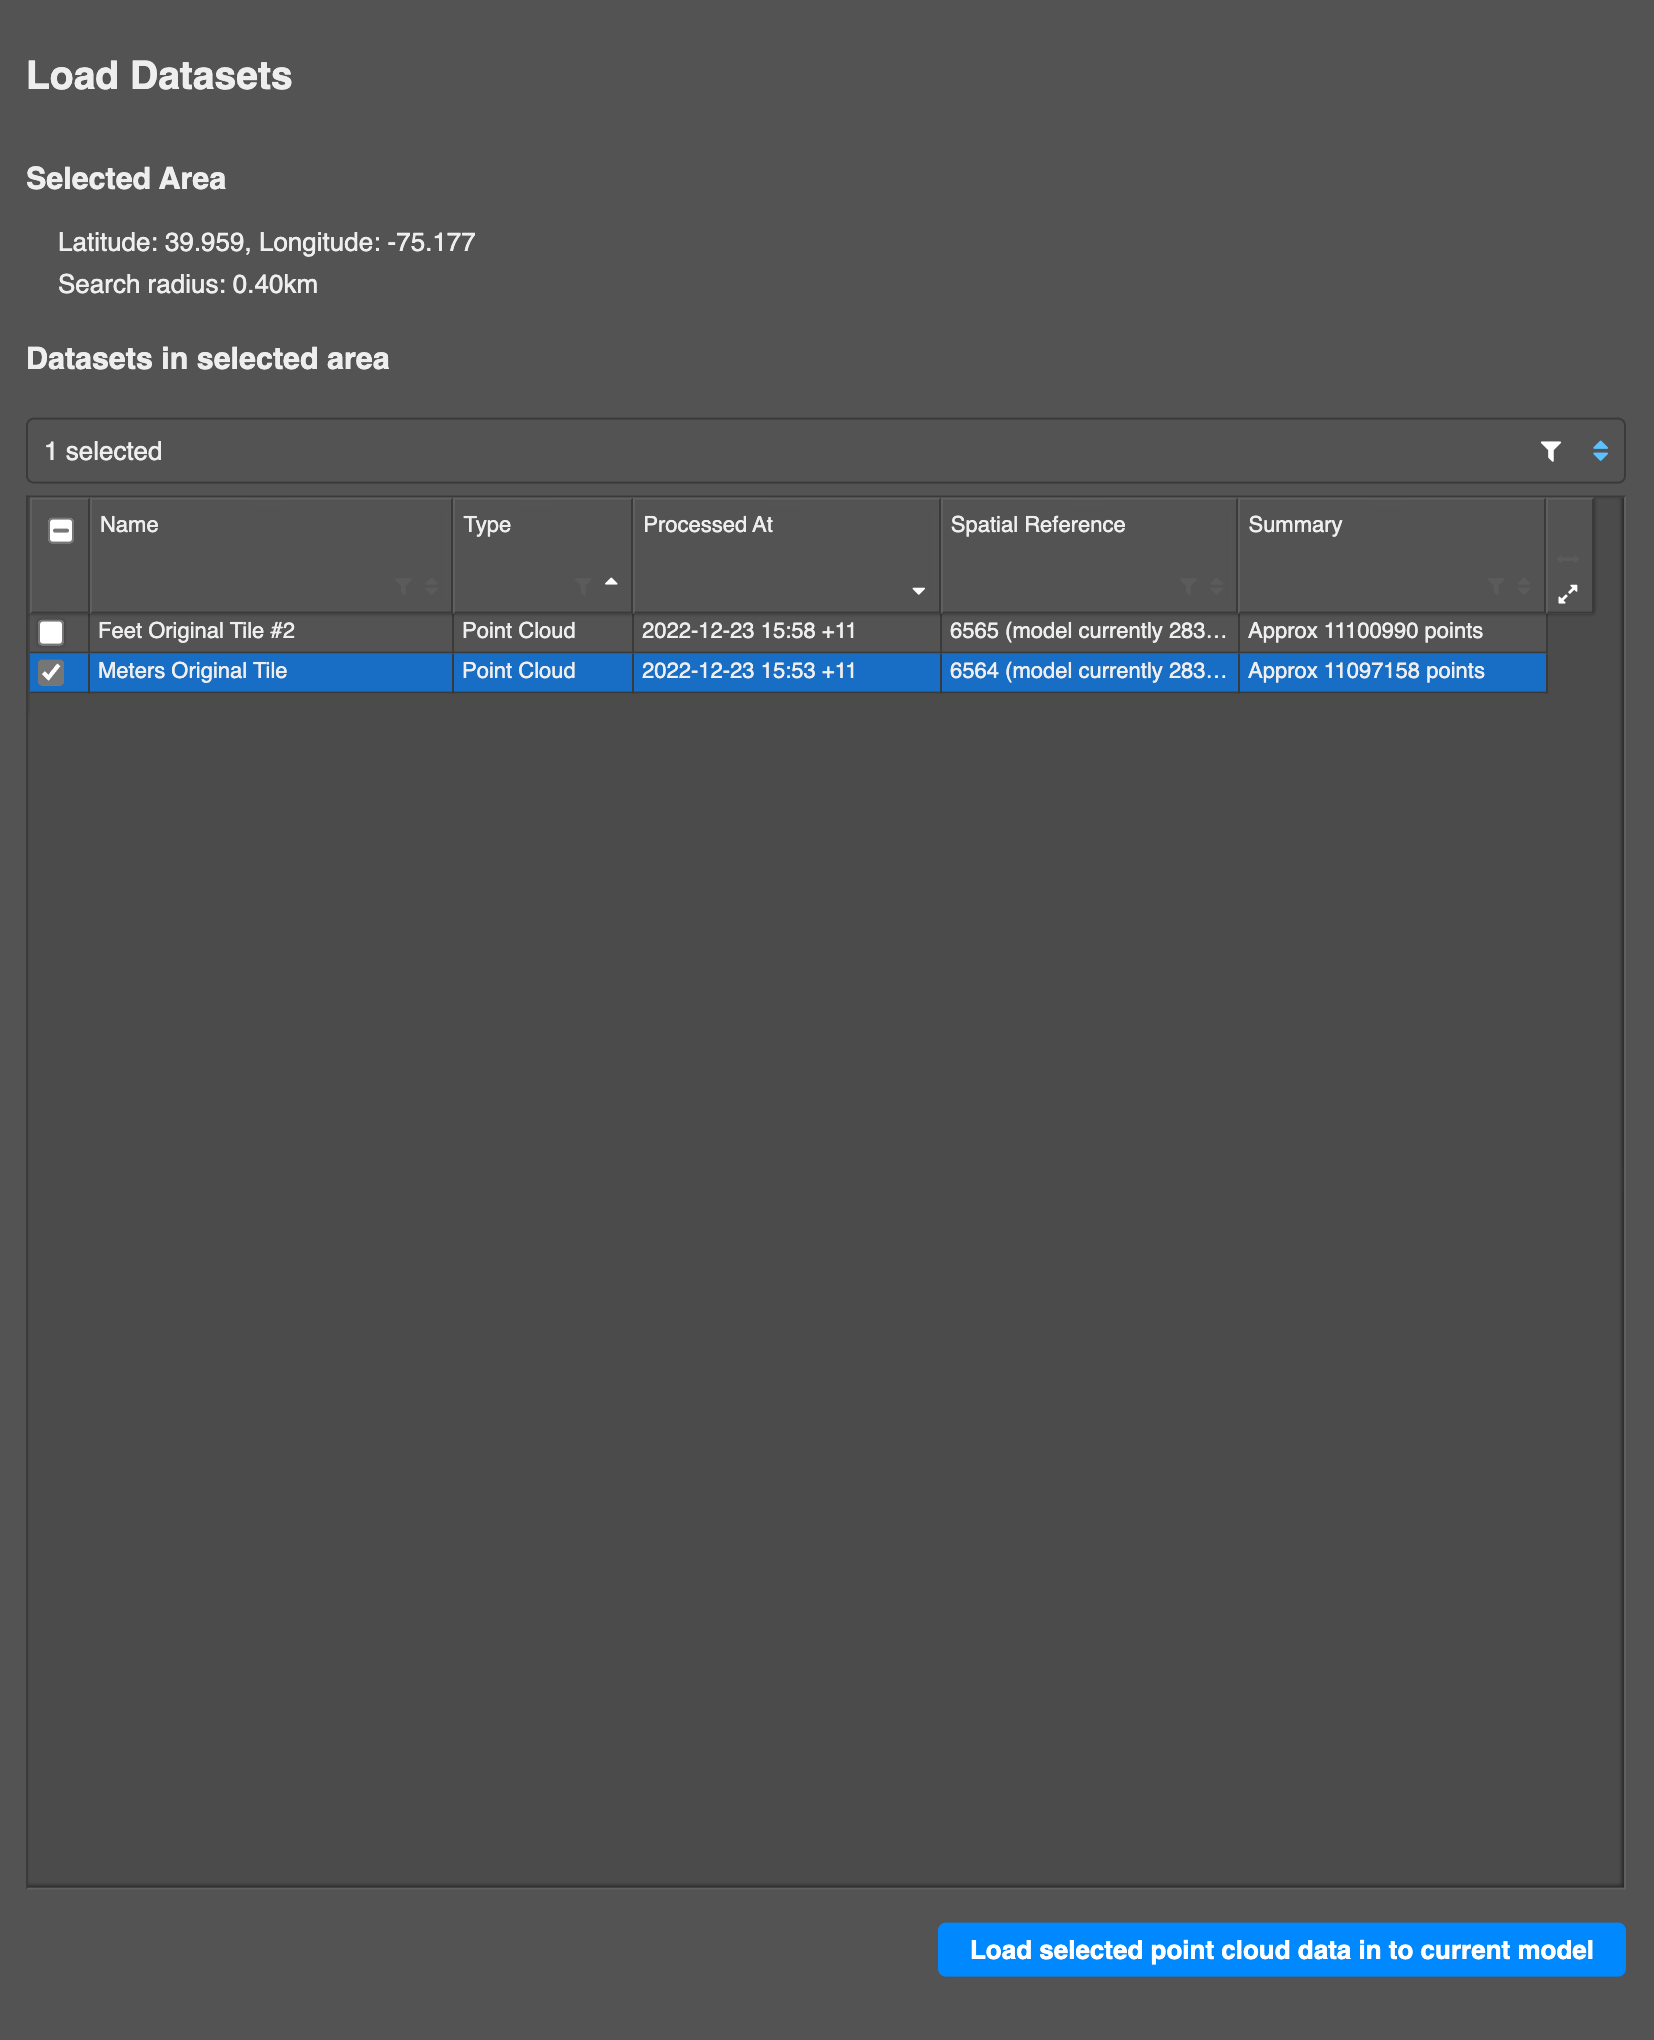
Clicking into the area on the map will display a list of the datasets available, ready for you to select specific datasets to load into your model:
Notes about using Dataset data
- If you choose to import Network Model data (MODEL) we recommend that you also import Point Cloud data at the same time to ensure that the ground level is set correctly
- Importing two different Point Cloud Datasets in your model is supported - however if the any of the Point Cloud Datasets contain data with different EPSG codes Neara will display an error message because it cannot determine which EPSG code to use for the model
- If you import Network Model data, a new model will be created based on the design template that was used to create the Dataset: ensure that you have saved your current model to avoid losing changes
- If you importing only Point Cloud data, the Point Cloud dataset will be imported in to the model that you have open. Once it is in your model, you will be able to manage the data as described below.
Managing Dataset data in your model
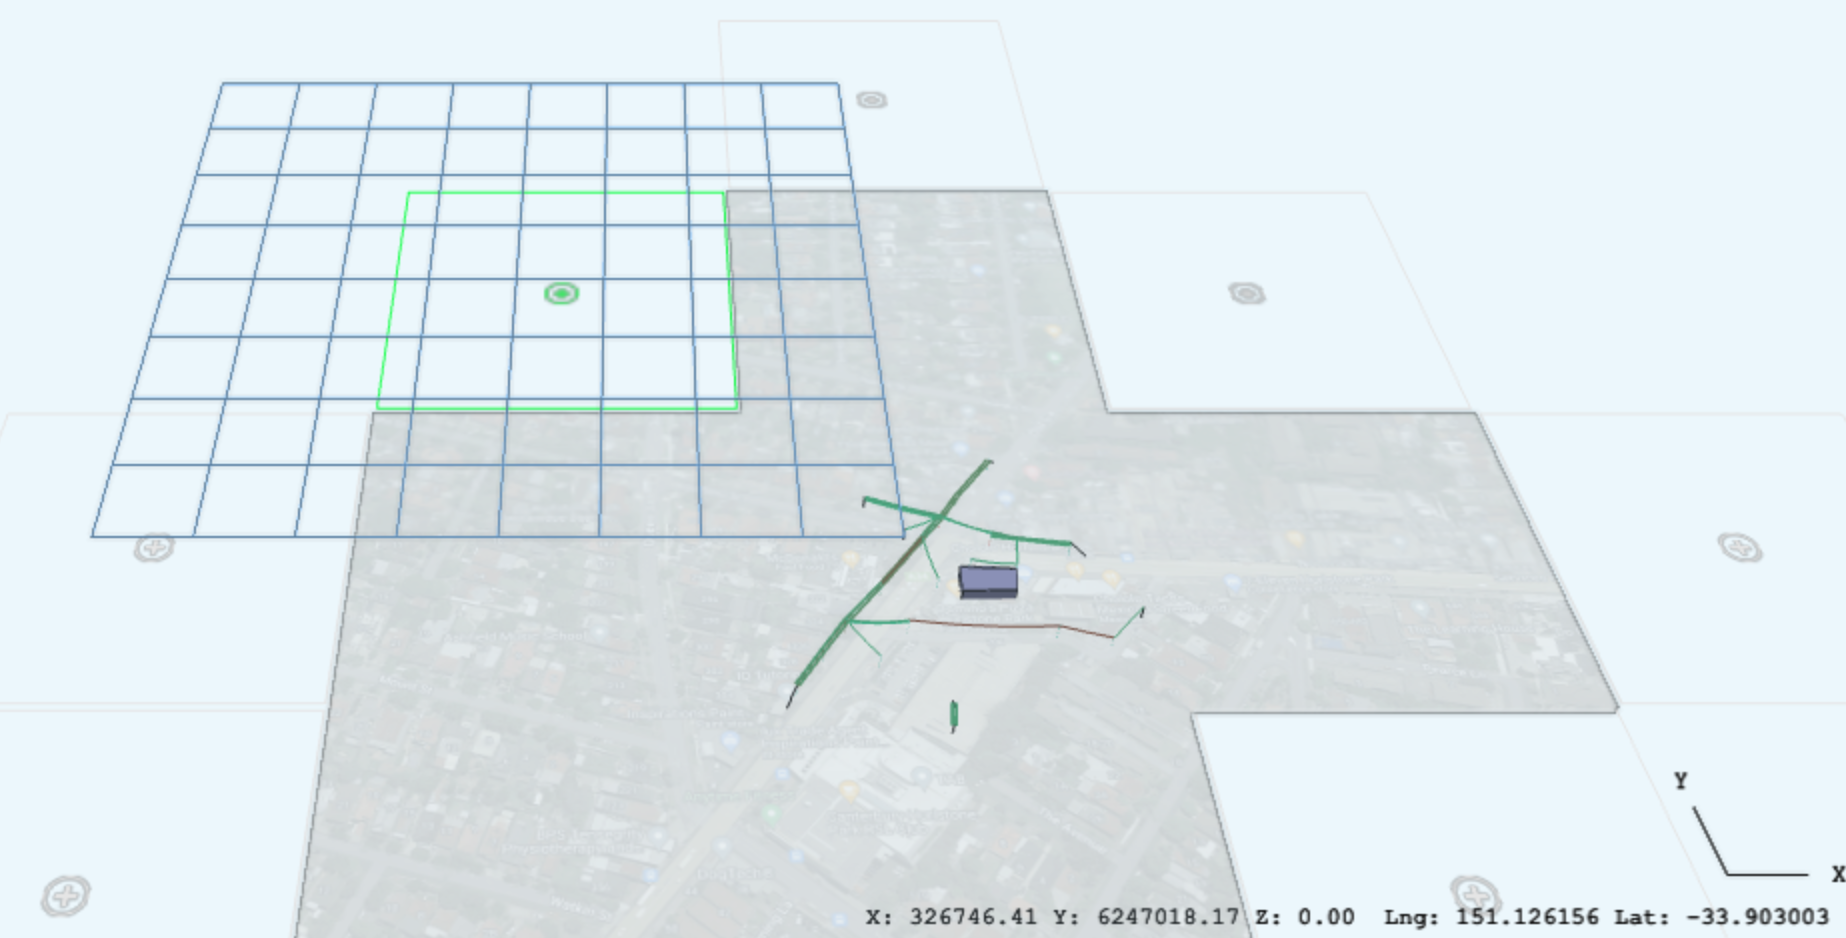
Once a Dataset has been selected for use in your model you can increase the area of imported data by moving your mouse over the Perspective view and clicking. The area of data that will be imported is highlighted in the perspective view as a blue hatched area:
You can increase or decrease the size of the imported area by updating the import radius within the Dataset tool Properties panel in the sidebar:
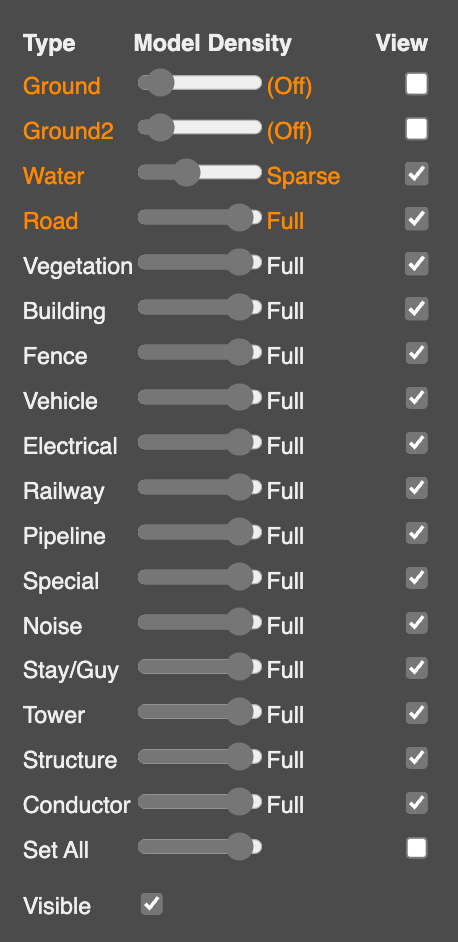
Once imported, control the density and display of Point Cloud data using the sliders under the Dataset configuration section of the Properties panel in the sidebar:
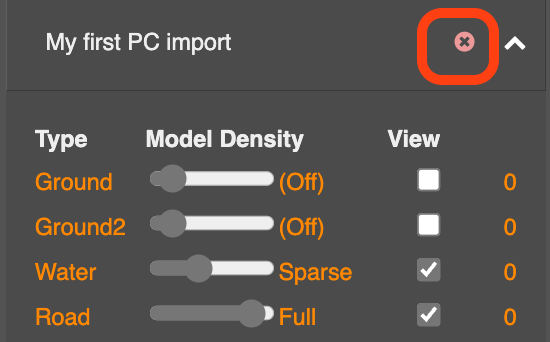
To remove a dataset, click the (x) next to the dataset's name under the Dataset configuration section of the Properties panel in the sidebar:
Requesting data from another organization
Importing Dataset data from another organization works in the same way as importing data from your own organization. However you first must request access to the data from the organization that owns it.
Select the Add dataset option in the Dataset tool Properties panel in the sidebar, and select the name of the organization on the popup.
If the owner organization requires external users that request their data to undergo further authentication, it will happen at this point - a new tab will pop-up in your browser (ensure that you allow popups if prompted) where you will be asked to log in to an identity provider, e.g. Okta. After you complete this authentication you will be allowed to proceed.
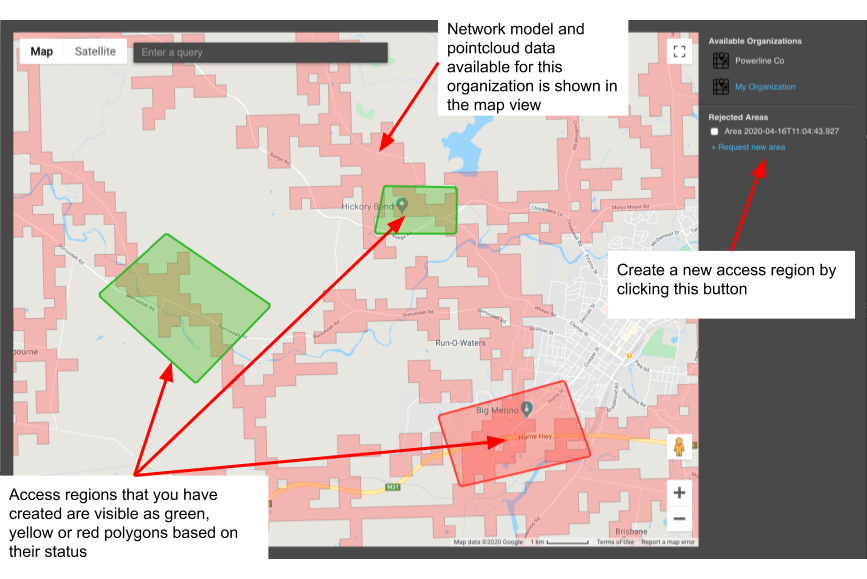
The Map view in the popup will display all data that this organization owns, as well as any regions that you have previously requested from this organization.
Previously created access requests are shown on the map:
- Green: Approved regions
- Yellow: Regions that require approval from the owner
- Red: Regions that were rejected by the owner
Clicking on the map will attempt to load dataset data in the same way as loading data from your own organization.
Requesting access to non-approved regions
If the region you attempt to load does not contain an approved area, you will see a No access error. To access that region of the map, create a new Access region by clicking the Request new area option under the Rejected areas section of the popup.
Neara will then allow you to draw a polygon on the map: outline the area you would like to request access to. Once the polygon you are drawing is closed, you will be able to create additional polygons for the same request, or submit the request. Before submitting a request you will be able to write a message for the approver.
Depending on the preferences set by the organization, your access request may be immediately approved, in which case the polygon will turn green. If manual approval is required, the polygon will turn yellow.
Selecting access region requests from the Dataset tool highlights them in the map and allows you to delete these regions. Deleting an access region removes that region from the approval queue of the organization.