Adding a map overlay to your design

Written by Cody Yakimoff
Updated at August 14th, 2023
Table of Contents
Overview
This article will cover adding a map overlay to a new design when you are starting with a blank model or importing data. For further information on editing or updating the projection, check out: Working with the coordinate system
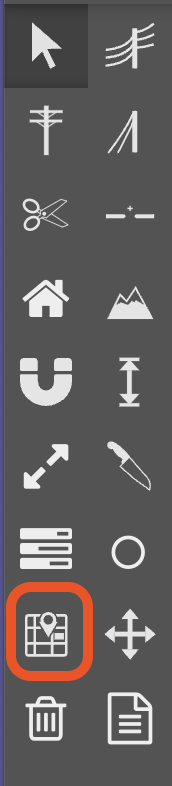
The Map tool on the toolbar is used to add a map overlay to your design, and georeferencing a map overlay to give it meaningful coordinates:
Add a geo-referenced map overlay
If you are starting a new design without any coordinate data (survey, DXF, LiDAR files) then:
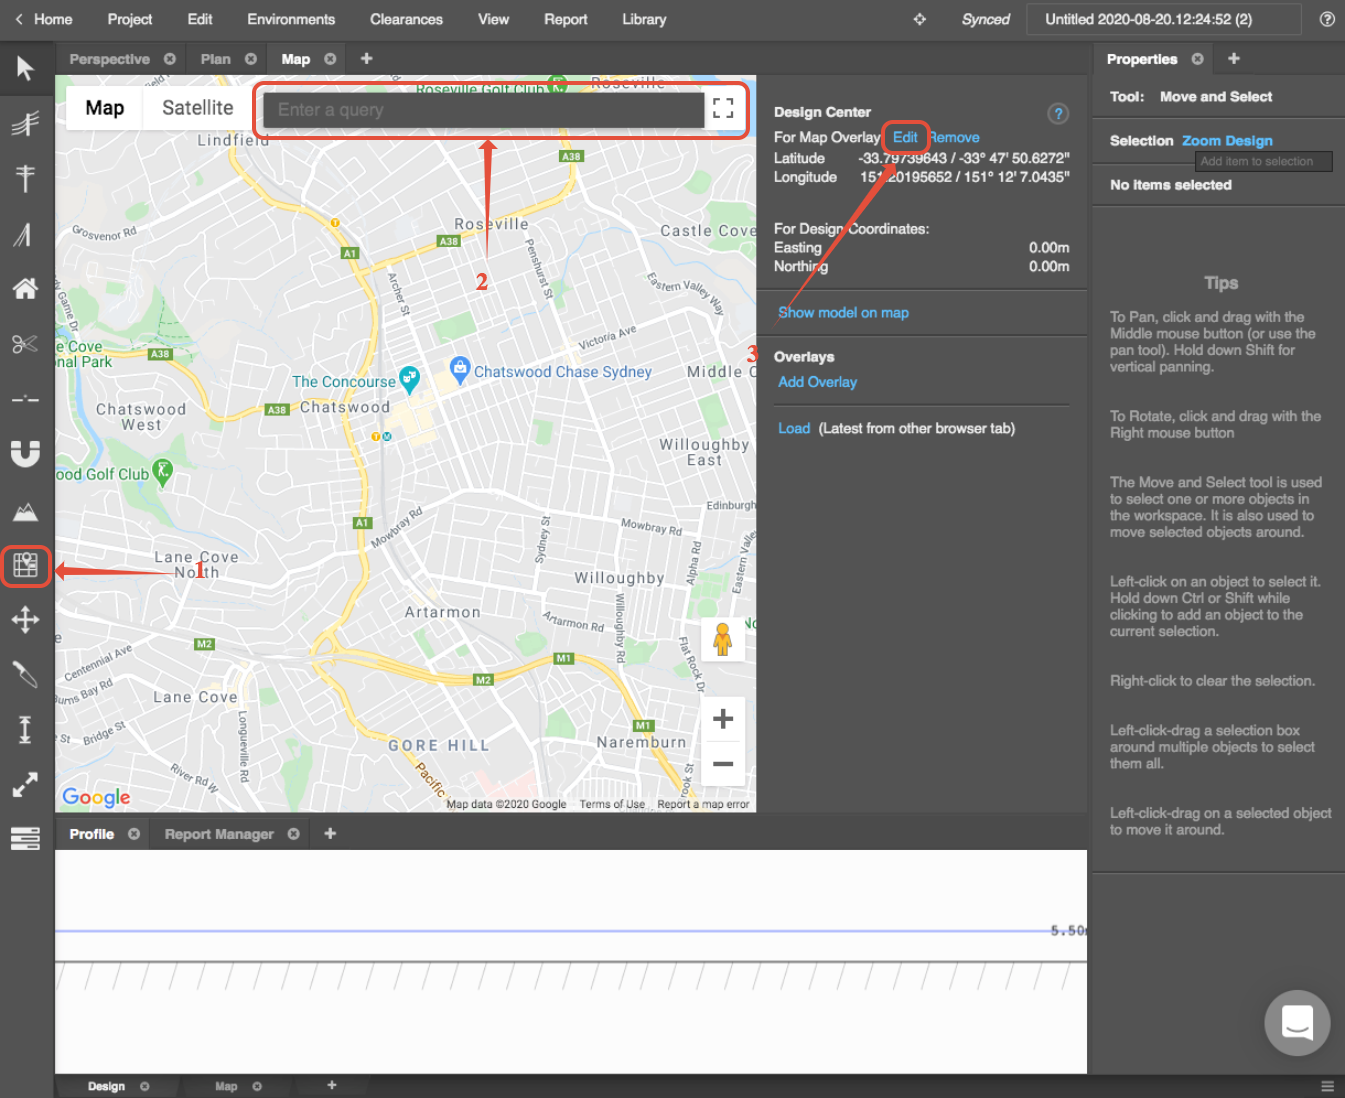
- Click the Map tool on the toolbar - the Map view appears (1)
- Search for an address in the search bar (2)
- When found, click a point on the map to update the design centre - you will see the latitude and longitude values update when this action occurs
- Click on the “edit” button (3)
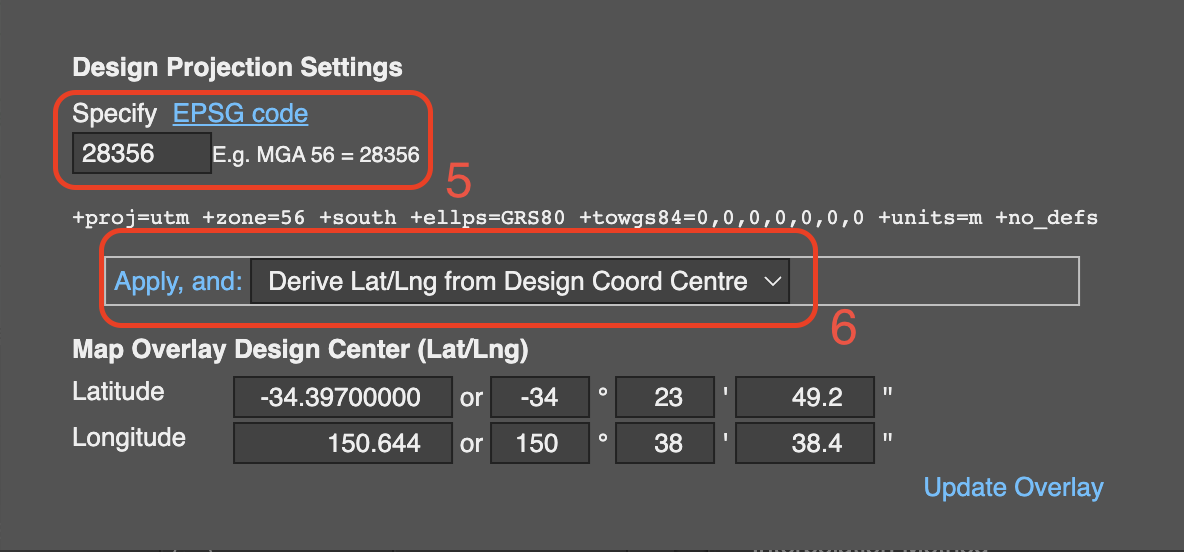
- You will see a window appear where you can type in your EPSG code (5)
- Once you have typed this in click on the dropdown next to “Apply, and:" and select “Derive Design Coord Centre from Lat/Lng” (6)
- Then click “Apply, and:”
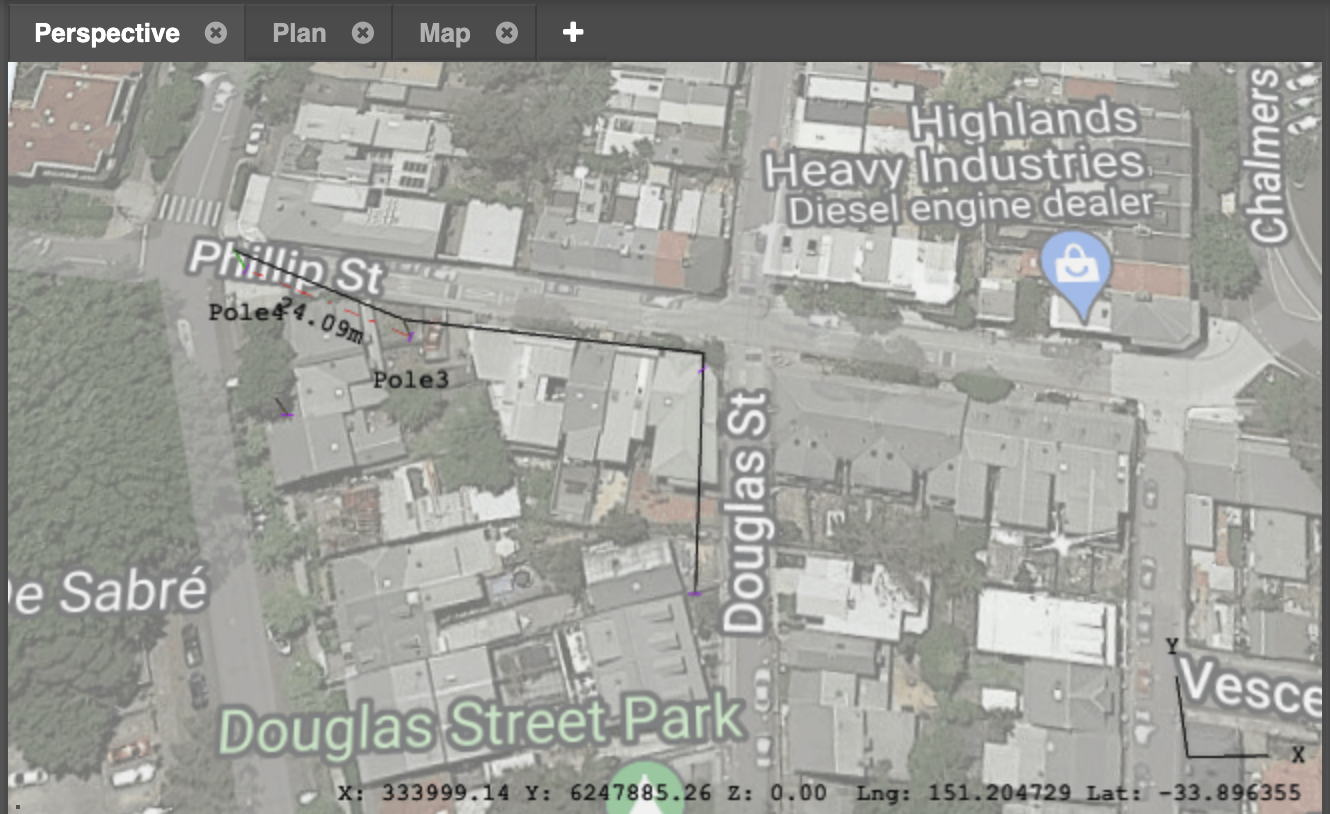
Once you have selected an area on the map the software will then overlay this area of the map onto your design. Switch back to Perspective view to see this change.
Importing Data
If you are starting a new design with coordinate data, do the following:
- Import your data (survey, DXF, LiDAR, KML) through the Project Menu button
- Select the Survey tool and scroll down to the spatial menu at the bottom of the properties panel
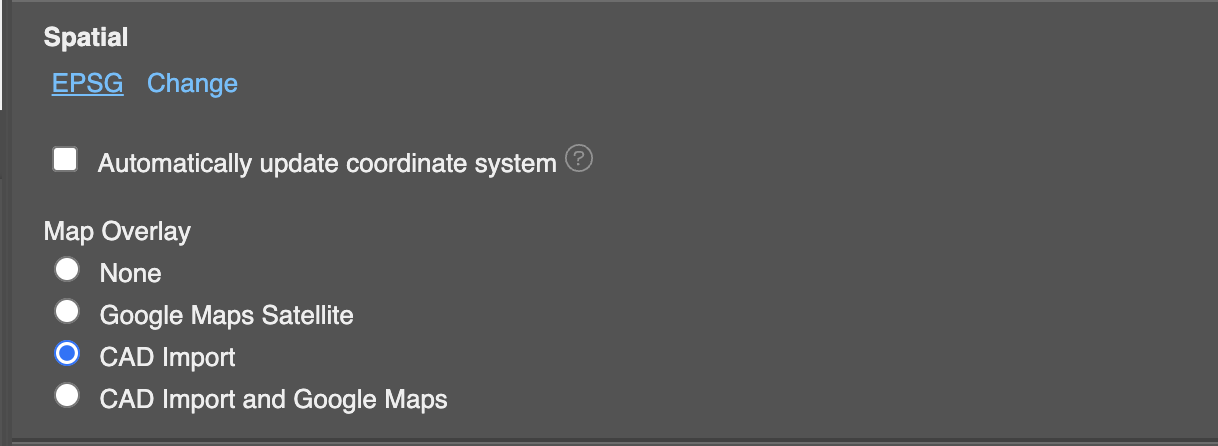
- Click on “Change” and type in an EPSG code
- You can then choose between the different map overlay options to either view the map only, CAD import only (if it exists) or both